November 2026 VzBot Upgrades
It’s November in Northwest Ohio, and the leaves are finally starting to fall. It’s a pretty sight, but it also means a bit of extra yard work on the weekends! On the plus side, we’ve been enjoying some unseasonably warm weather, with temperatures reaching around 75°F on November 3rd. I’m hoping it sticks around for a little while longer.
A few weeks ago, I completed a few VzBot upgrades. I don’t quite have the bandwidth to make videos these days, but I’m hoping to get back to that at some point in the near future. With that in mind, I still enjoy creating “long form” content and hope that folks will find this interesting/useful.
VzBot Upgrades
I’ve had my VzBot for about three years now, and it’s been a great printer. It’s really an amazing marvel of engineering, especially when you consider what it’s capable of in terms of speed and acceleration. With its AWD (All Wheel Drive) motion system, CNC-machined components, and incredibly rigid frame, it’s a machine designed to push the limits of what a CoreXY 3D printer can do. Even after three years, I’m still impressed watching it print at speeds that would be pretty unreasonable on most other printers.
That said, the VzBot isn’t quite your everyday Voron. It’s definitely a machine that requires a bit more attention and tinkering to keep running at its best. With the high speeds, accelerations, and vibrations involved, things that might not be an issue on a slower printer can become problems pretty quickly. I’ve learned that using Loctite on the appropriate fasteners is pretty much a necessity, unless you enjoy tracking down screws that have worked themselves loose (ask me how I know). It’s an incredible machine when everything is dialed in, but it can also be a bit finicky at times.
Over the past year or so, I’ve found myself neglecting it in favor of my Voron 2.4, which is quite a bit slower in terms of print speed, but has been a fantastic workhorse. However, I really do enjoy the VzBot, so I decided it was time to give it a little attention and make a few quality of life upgrades. In fairness, the VzBot also “just works” as well, BUT it definitely needed some TLC.
Withh that in mind, I’l walk you through the two upgrades I did.
1. Upgraded the CNC extruder to the latest version.
I was still running the original Mellow Fly HextruDORT, which worked reasonably well, but had a few things that always bugged me. The biggest issue was the lack of a PTFE tube clip, which meant the tube would frequently pop out during use. The filament path alignment also wasn’t ideal, although I never actually noticed any printing issues because of it.
The newer version addresses these concerns, so I figured it was a worthwhile upgrade.
This turned out to be a very “easy” upgrade, probably taking me a total of 30 minutes to tear down the old extruder, move the hot end out of the way, and install the replacement. Following that, I had to recalibrate and change a few Klipper settings (rotation distance, primarily) due to the gear ratio being a bit larger. I have continued to use the same print profiles as before and things are looking quite good.
2. Installed a Cartographer v4 probe.
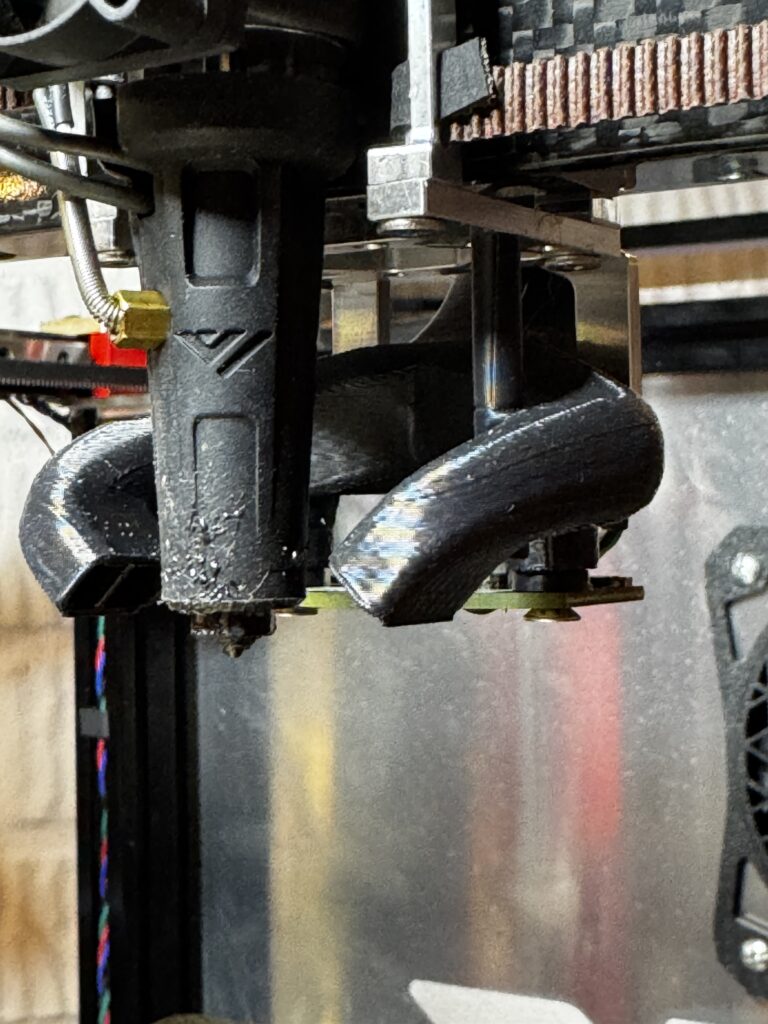
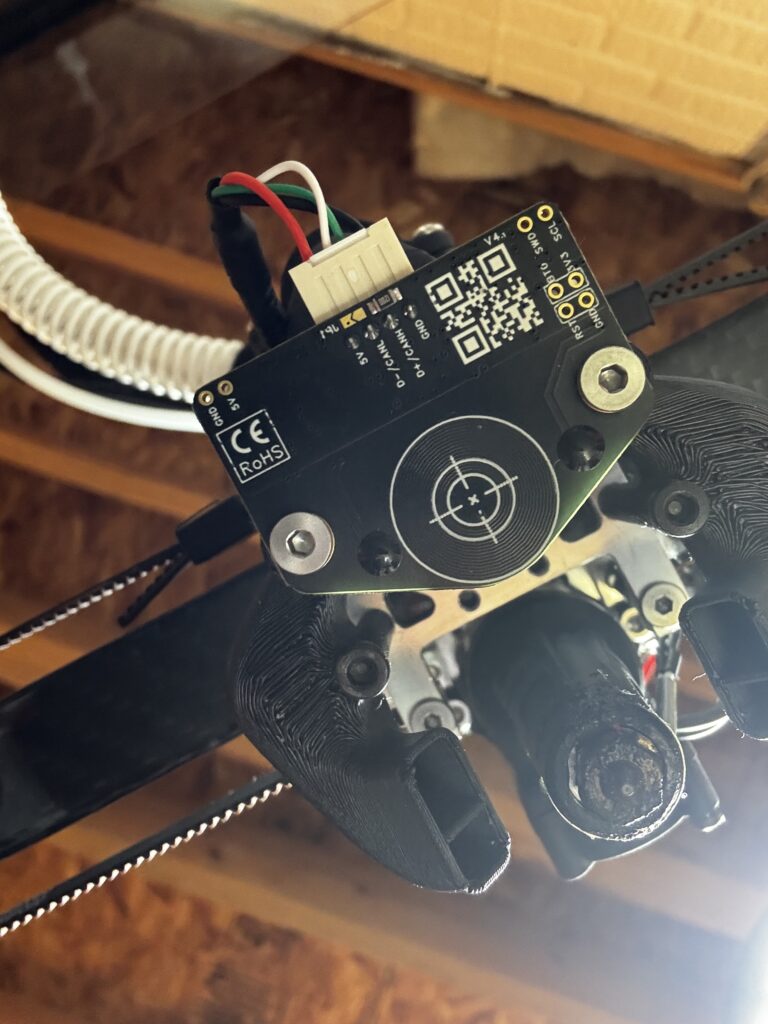
I also decided to upgrade to a Cartographer v4. I ended up designing my own mount because I didn’t fully understand how the existing Beacon mount would work with my setup. As it turns out, @MandicReality later filled me in, but by that point I had already gone down the path of making my own!
It took me quite a while to get the probe tuned and behaving the way I wanted. There was definitely some trial and error involved, but I’ve finally got it working really well, and I’m happy with the results.
How it’s mounted- this is my “custom” mount. I remixed the original long duct and added the mounting holes for the Cartographer. This mount works with “Long Goliath”.
Mounting from below:
3. Troubleshooting the Cartographer and First Layer Adhesion
I ran into several issues when I first started printing with the Cartographer. Initially, everything seemed to be working well. I was able to get a successful Benchy printed, and the probe appeared to be functioning correctly. However, once I started printing some larger parts in ASA, I noticed that the front of the bed was having adhesion problems.
This was a bit frustrating because the bed mesh looked pretty good. I was using a 10×10 mesh, and the total variation across the bed was only around 0.3mm, which didn’t seem unreasonable. Even more confusing, I tried printing several small objects with the bed mesh disabled, and they printed successfully. That made me suspect something wasn’t quite right with how the mesh was being applied.
After quite a bit of troubleshooting, I hopped over to the Cartographer Discord and described what I was experiencing. We explored a few possible causes, including the impact of temperature on the probe. Since I primarily print ASA and ABS on this machine, I needed to make sure the Cartographer would work reliably with the higher bed temperatures and enclosed environment.
One interesting thing I noticed was that the Cartographer’s coil temperature continued to climb even after the bed had reached its target temperature. This led me to spend some time looking into heat soaking and making sure the printer had enough time to stabilize before running the bed mesh calibration.
Ultimately, I ended up running the X and Y axis twist calibrations, which turned out to be a bit of a challenge on their own. I initially had trouble getting consistent probe samples during the calibration process, even though the probe itself appeared to be quite accurate. After working through that and getting the calibrations completed, I was finally able to get a nice, smooth first layer across the entire bed.
I’ve since tested it with ASA at higher bed temperatures, and everything appears to be working great. It’s good to know that the Cartographer can handle the higher temperatures inside the enclosure, since that’s how I primarily use this printer.
It took more troubleshooting than I had originally anticipated, but I’m really happy with how it’s performing now. The fast bed scanning is a nice improvement, and I’m hoping I won’t have to spend nearly as much time messing around with first layer calibration going forward!
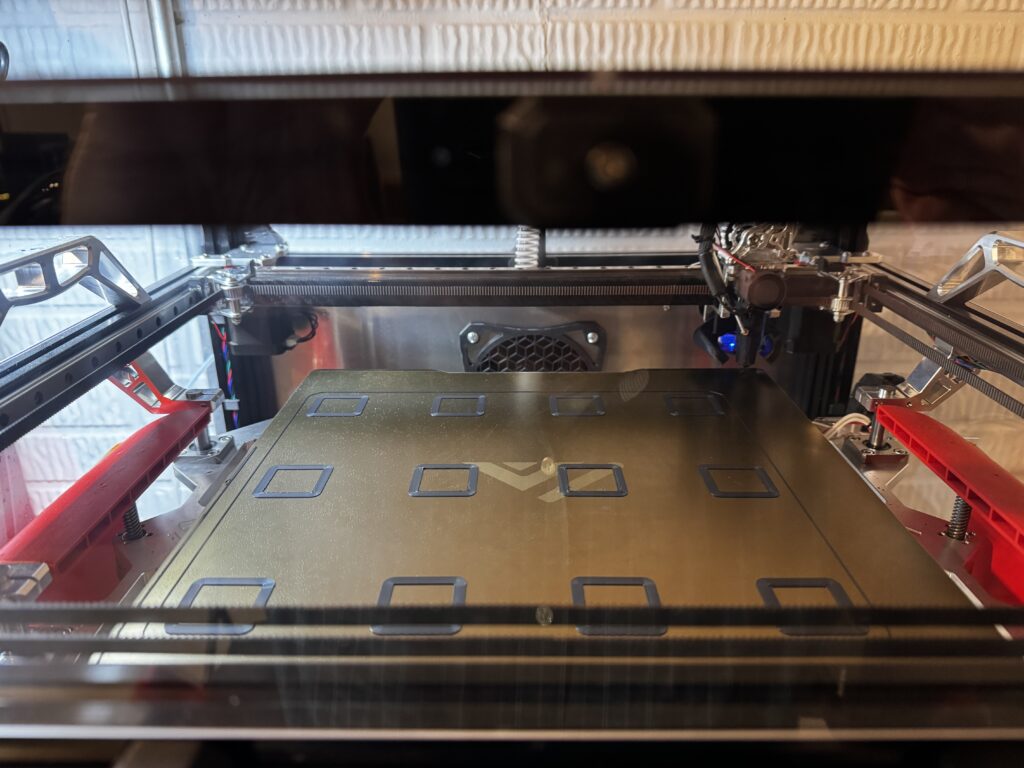
Now that I’ve got everything dialed in, I’m off to the races! I’ve got a few larger 3D printing projects planned that will require ASA filament, so I’m looking forward to putting the VzBot back to work. It’s nice to have this printer running reliably again, especially after all the time spent troubleshooting and tuning it.
That about does it for now! Thanks for following along, and hopefully I’ll have a few more projects to share in the near future. Thanks for reading!