Build Log: 3D Printing a Guitar Pedal Board
In addition to 3d printing hobbies, I am a musician. I’ve been interested in playing music for as long as I can remember, way before I started my Maker journey. At the age of 10, I began piano lessons and built a good foundation taking music lessons and learning to sight read and the basics of music theory. While in middle school, I joined the Band, picking trumpet as my instrument. At the end of my junior year, my parents got me a guitar for my 17th birthday. It was a Fender Squire, circa 1993 or so. I loved the sound of it, and still probably have some 4 track recordings that I made on my old Foster 4 track “back in the day”. As I entered college I continued with music (though not academically) and joined several bands, primarily playing bass guitar and landing on acoustic for many years after that. Ah, the memories. I could go on and on.
Pictured here- my Fender American Performer Jazzmaster
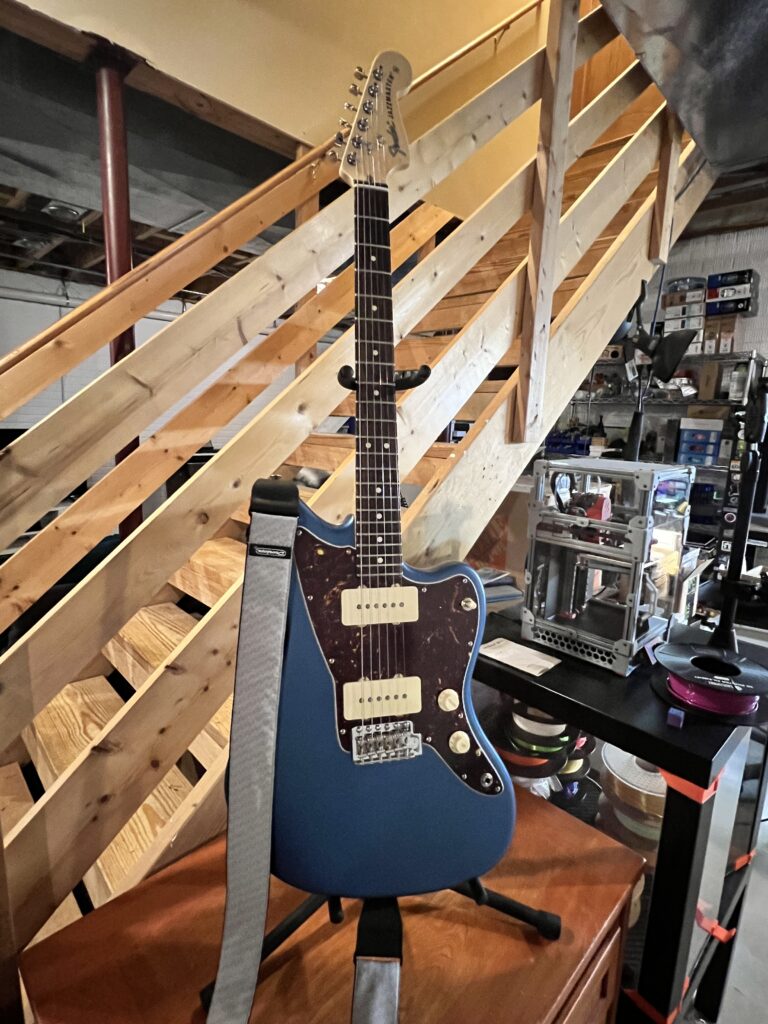
Let’s fast forward a bit. I’ve been rotating between several instruments (Guitar, Bass, and Keyboard) in the church band that I joined about 3 years ago. These days, I enjoy being a “jack of all trades” and, for the most part, I fill in on just about any instrument. I was recently asked to get into the rotation for electric guitar. While I do have pedals, most of the time I am just using a Line 6 HX Mini Stomp, which has been fine for Bass and Acoustic. As I do more with electric, I’d like to have a little more flexibility with my pedal board and plan to augment the Hx Mini Stomp with a compressor, overdrive, fuzz, etc. This is ultimately why I decided to build a pedal board!
Enter the pedal board. You can check out the model that I printed on Printables.
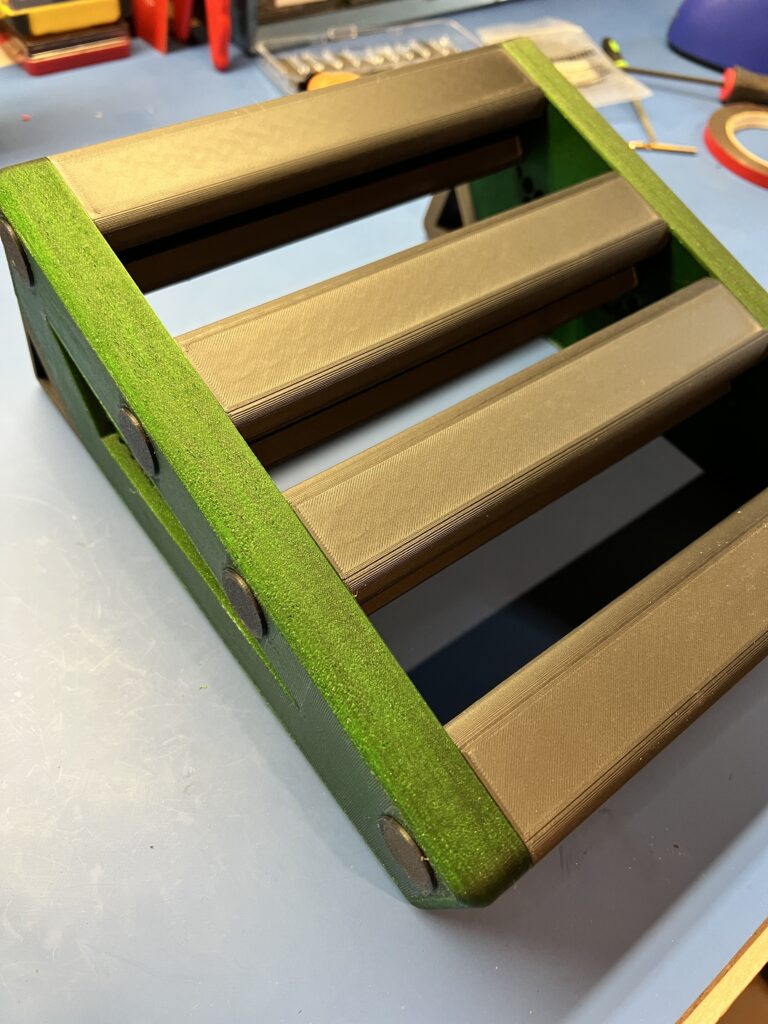
This pedal board is fantastic, and VERY sturdy/durable. I printed it with Polymaker CF-PLA (the “boards”) and the sides are Prusament Galaxy Green PLA. I made a small remix that incorporates M6x35 screws, instead of using M6 threaded rods, which are a bit tough to find in the US. I got this idea by reading the comments from others who made this.
Items Needed for this project
- Polymaker CF-PLA
- Prusament Galaxy Green
- M6x35 screws to attach the side feet to the boards
- Sainsmart TPU Filament for Rubber feet
My Print Settings
- I used 10% Gyroid infill and it seems to be more than enough!
- 3 perimeters, 5 top and bottom
- Be sure to pay attention to your overhang settings! I had to turn on “Dynamic Overhang Compensation” in my slicer, which automatically slowed the printer down when it did steep overhangs.
- Also, be sure to calibrate your printer first! This model has very tight tolerances, and over extrusion will cause problems when you try to fit the boards to the sides.
I printed this model on my VzBot. For the most case, I printed at a speed of around 350-500 mm/sec, which is quite fast and more so than most typical printers. The boards took about an hour and a half each, and the sides took around 2 hours. There are a few other parts (like the screw covers and alignment pegs) that were only a few minutes. It took about 10 total hours for me to print this project. However, for more typical printers, it may take around 2-3x that, so be sure to allow plenty of time.
Here are a few images of the printing.
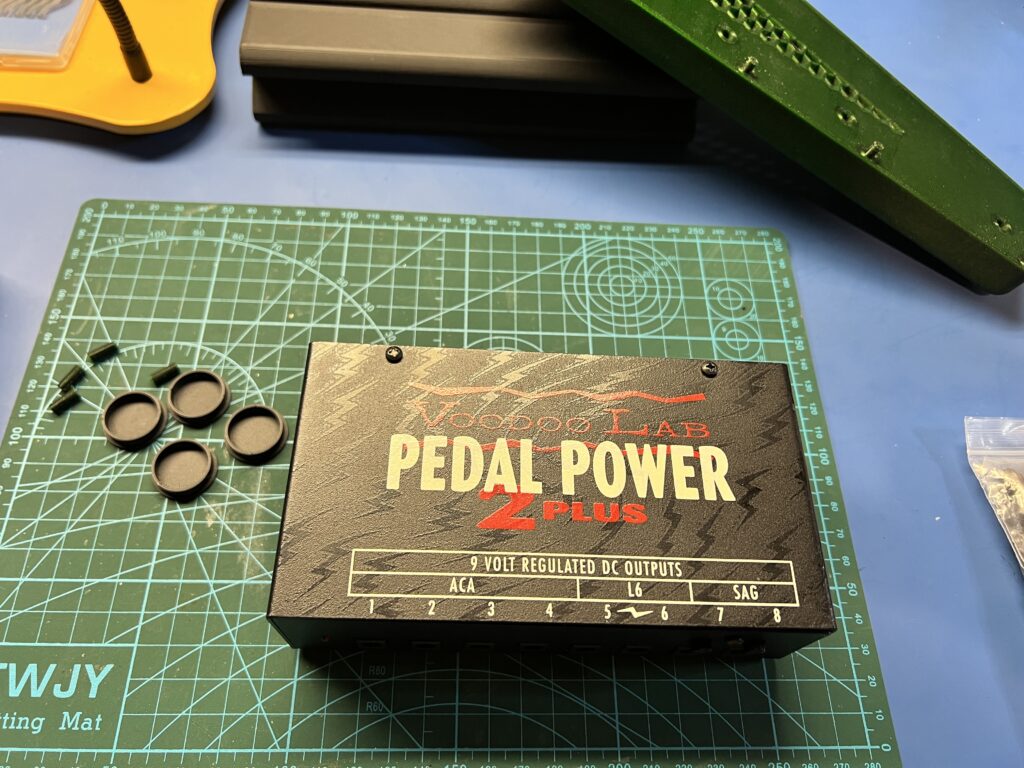
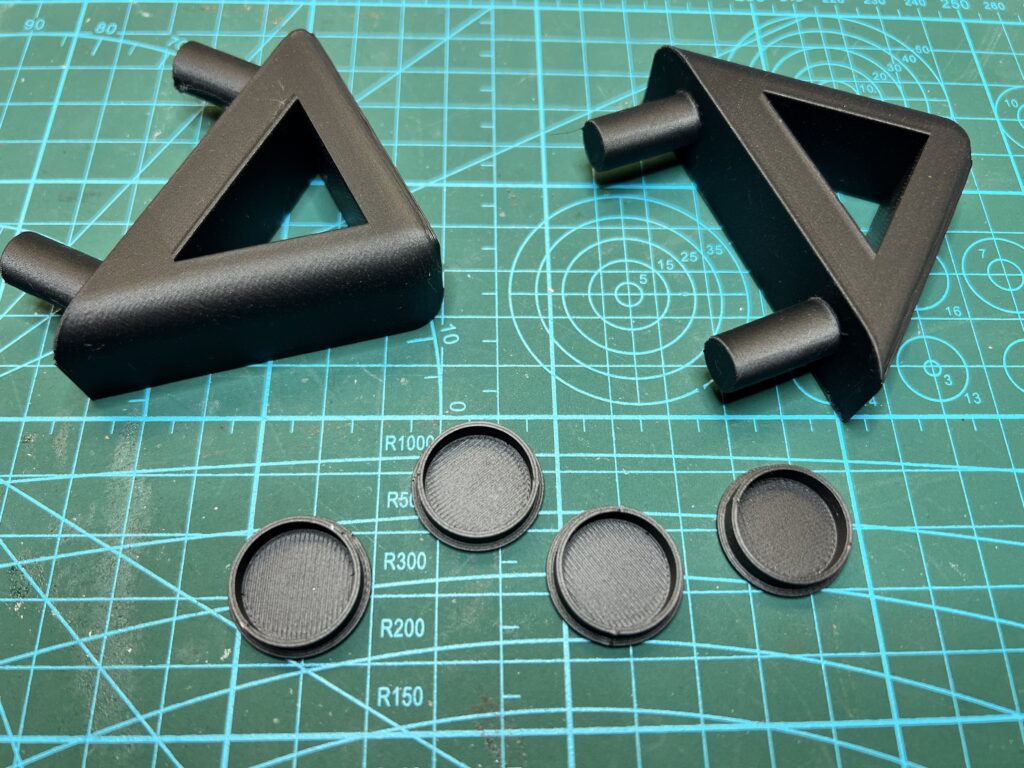
In this photo, you can see the alignment pegs and the caps. (8 total were needed of each). You can also see my pedal power supply, which I ended up mounting under the pedal board, using velcro, which had plenty of clearance.
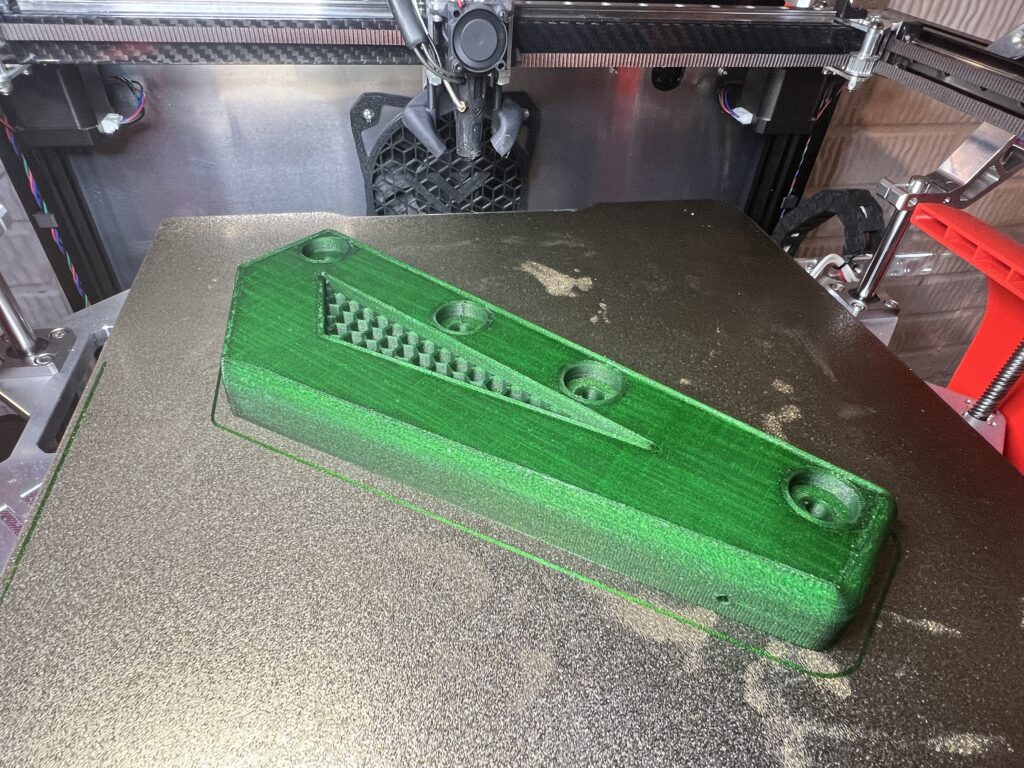
Here is a print of the “Galaxy Green” for one of the sides of the feet.
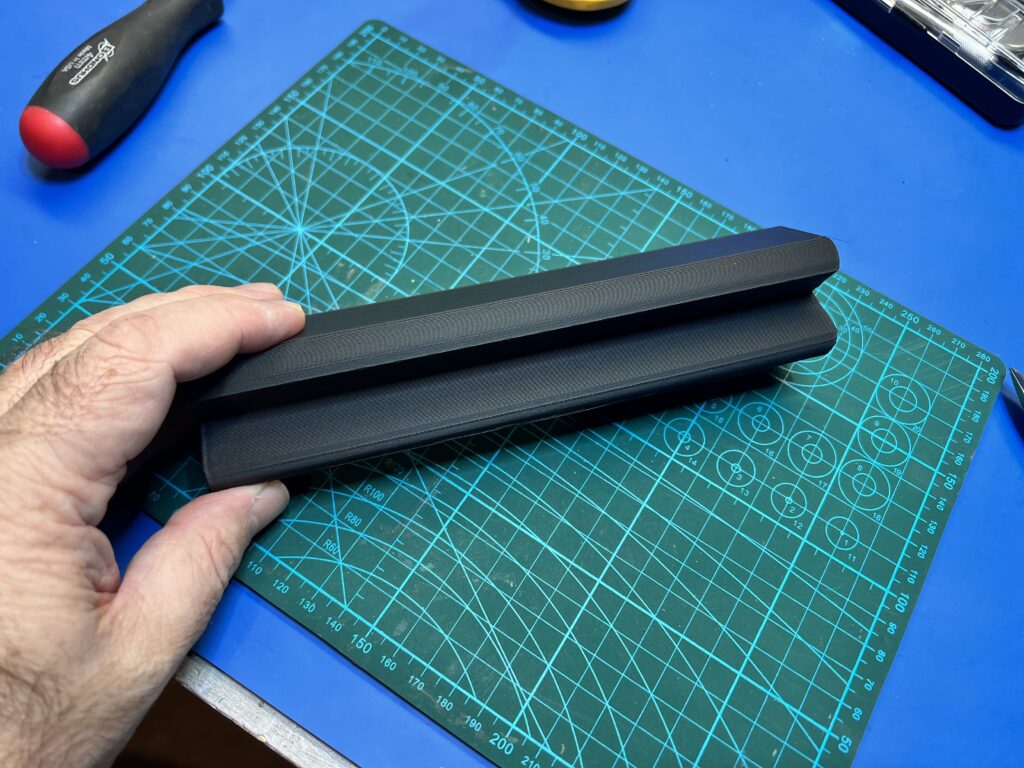
Here is a picture of one of 4 boards. This was printed in the Polymaker CF-PLA.
Here are the the bottom feet and screw caps, also printed in Polymaker CF-PLA.
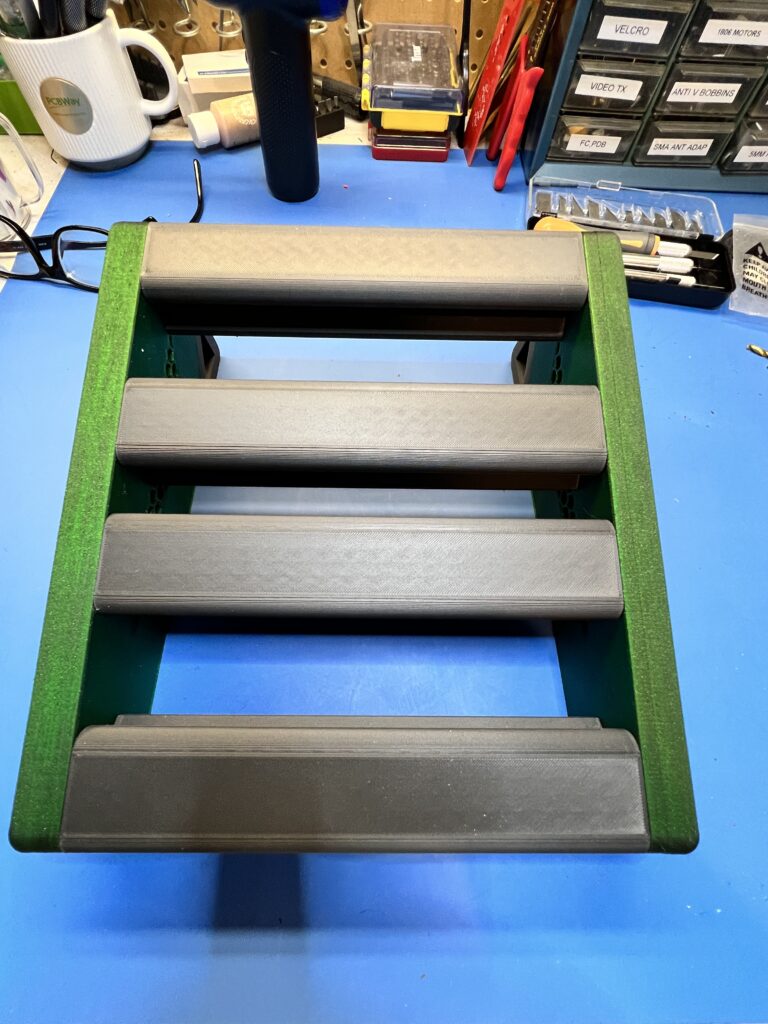
Assembling this project is pretty straight forward, and I won’t repeat the instructions from the Printables page. The only tip that I have is to make sure you check the holes on your boards where the alignment pegs fit into. I had to open them up a bit, because the way they were printed, the holes were a little bit too tight due to the bridging. It took me all of 30 seconds per hole to knock out some of the material and I was all set.
Here is the completed pedal board before I installed velcro and pedals:
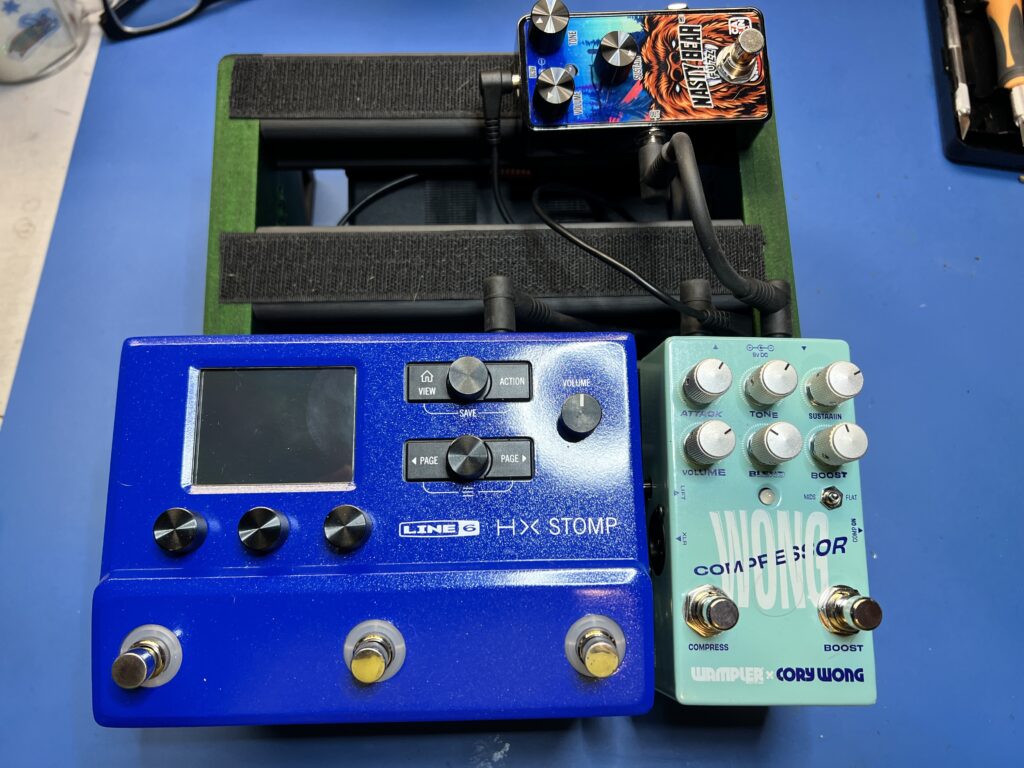
And here are photos of a few pedals that I’ve installed on the board. You can also see how I mounted the power supply.
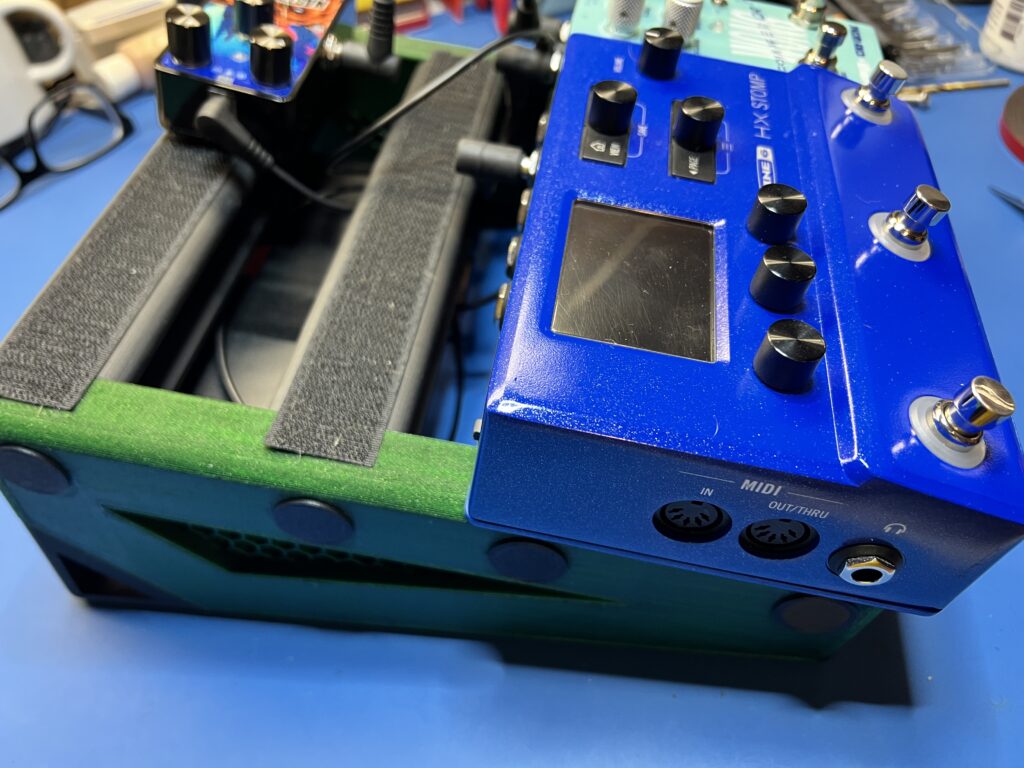
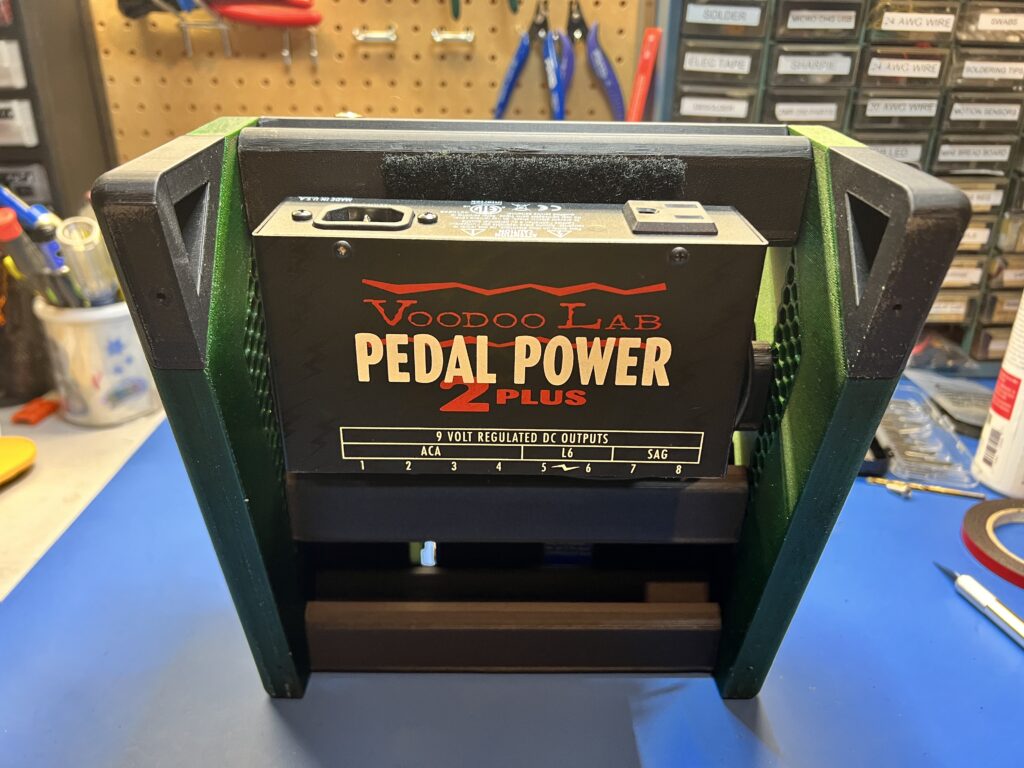
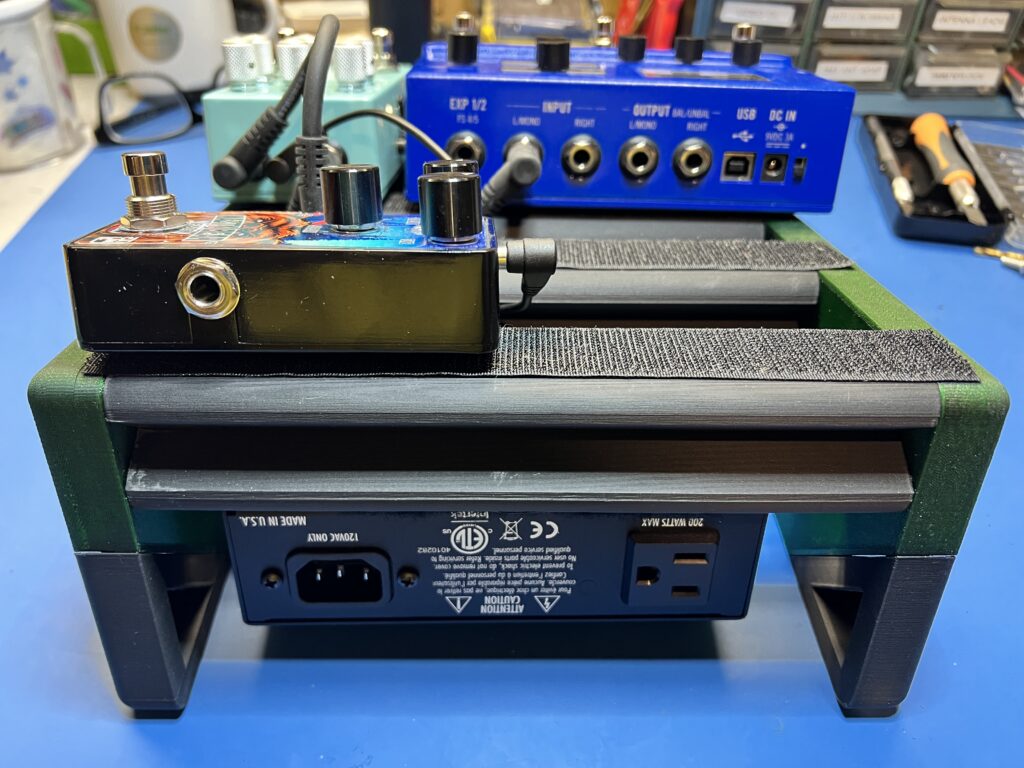
Well, that’s it for now on this project! I hope you enjoyed the read and found it helpful/interesting. I am looking forward to getting some use out of this board, and I may end up printing a wider version of it, and remixing it to use 1/4″ threaded rods instead of the M6 ones since those are easier to source in the US.
I hope you enjoyed this write up! Feel free to ping me on Twitter/X if you have any questions, or want to know what music I’m practicing next.. 🙂

